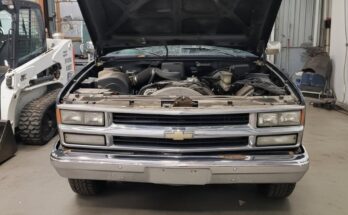
The “DASH REMOVAL CHEVY GMC TRUCK 1995–1998” video demonstrates step-by-step how to remove the dashboard from a Chevy / GMC truck model year 1995, 1996, 1997, or 1998. The clip walks through the full process including removing screws, trim pieces, panels, disconnecting wiring or cables, and carefully detaching the dash without damaging components.
The tutorial is clear and methodical: the presenter shows the tools needed, sequence of removal, where to disengage clips or connectors, and how to handle potentially tricky parts (e.g. wiring harnesses, speedometer cluster, AC/heating controls) so that nothing breaks during the process.
🔧 Why it matters — what you get from knowing how to remove a dash
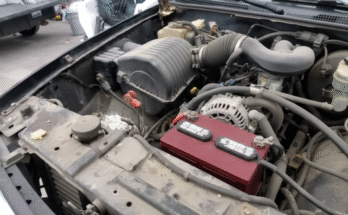
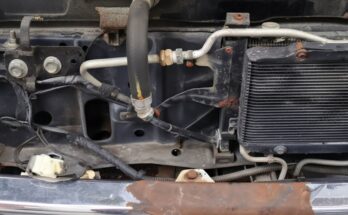
Removing the dash is often a necessary step whether you plan to repair or replace components behind it — like wiring, HVAC system, heater core, airbag components, stereo or wiring upgrades, restoring or customizing interior trim, or diagnosing electrical faults. For older trucks, especially models from 1995–1998, parts tend to degrade or wiring gets brittle over time. A proper dash-removal guide helps avoid breaking fragile trim, connectors, or breaking mounting tabs.
Moreover, doing it yourself can save you substantial labor costs compared to paying a shop. It also gives control: you can inspect behind-dash wiring, check for rust, inspect HVAC ducting, or install custom components (sound systems, gauges, lighting) properly. This DIY knowledge empowers owners to maintain or modify their trucks safely and effectively.
✅ What the video shows — Key takeaways
- Proper tool use and preparation — The video shows which screwdrivers, trim-panel tools or sockets you need. It emphasizes organizing screws/bolts as you take them off so you don’t lose anything.
- Order of disassembly matters — You have to remove trim, glove box, instrument cluster, center console (if applicable), wiring connectors, and steering column covers in a certain order. The tutorial follows a logical sequence that minimizes risk of damaging dash pieces.
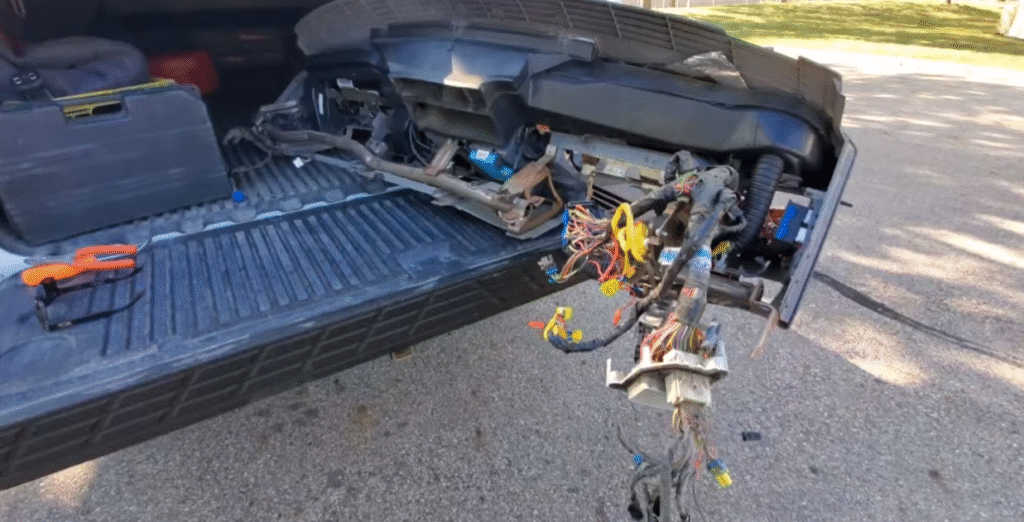
- Careful handling of wiring and connectors — Removing the dash requires unplugging wiring harnesses for gauges, lighting, AC/heater controls, etc. The video shows how to carefully unclip connectors and how to avoid pulling or stressing wires.
- Removing dash without damage — The removal is shown as clean — dash comes off intact without broken clips, scratched panels, or bent metal — which demonstrates that with patience and the right approach, it can be done well.
- What to watch out for — The video implicitly warns about common pitfalls: brittle plastic, hidden screws or bolts behind panels, wiring clip tightness, and sensitive components (gauges, wiring).
📚 What you (or someone doing a similar job) can learn / replicate
- Before starting: disconnect the battery to avoid electrical short or airbag issues (if applicable). Ensure the truck is parked, in good lighting, and you have enough space.
- Gather proper tools: screwdrivers (flat and Phillips), socket set, trim-removal tools, maybe small containers to keep screws/bolts organized.
- Work slowly and methodically: follow the removal order as shown — start with trim / panels, then glove box or console, instrument cluster, wiring connectors, steering column covers — don’t rush or force parts.
- Label or photograph wiring connectors before unplugging — will help you re-install correctly.
- Handle plastic parts gently — these older trucks may have brittle plastic. Beware of mounting tab stress.
- Once dash is out — inspect behind: check for rust, wiring wear, HVAC ducts, and plan repairs or upgrades (sound system, insulation, new wiring, etc.).
This video is especially useful if you are doing a restoration, interior repair, wiring upgrade, HVAC work, or customizing — gives a solid foundation to safely remove the dash without damaging valuable components.
🔍 Why such videos are valuable — for DIYers and truck owners
For owners of older vehicles like mid-90s Chevy/GMC trucks, maintenance and customization often require DIY work because parts and labor for older cars can be expensive or scarce. A detailed dash removal guide helps you avoid common mistakes (broken plastic, lost screws, wiring problems) and gives confidence.
Moreover, many trucks of that era are now over 25–30 years old — interior trim may be cracked, wiring brittle, mechanical parts worn. With a proper dash removal, you can inspect, refurbish, or upgrade — prolonging the vehicle life and improving safety or comfort (new stereo, better HVAC, improved wiring, etc.).
If done correctly, you save money, avoid shop delays, and get satisfaction of restoring or customizing your vehicle by yourself.
💡 In summary
The “DASH REMOVAL CHEVY GMC TRUCK 1995–1998” video is an excellent resource showing a safe, careful, and professional way to remove a dash from those older trucks. It highlights the tools, steps, cautions, and care needed to avoid damaging parts — making it ideal for anyone planning repairs, upgrades, or interior restoration.